Procreate is a powerful digital art app that offers a wide variety of brushes to choose from. You can also download and install custom brushes to expand your creative options. In this tutorial, we'll show you how to install Procreate brushes on your iPad.
1. Download the Procreate Brush File
The first step is to download the brush file you want to install. You can download brushes from various online sources or purchase them from the Procreate Brush Library. You might get a ZIP file you unzip with a double click on the folder.
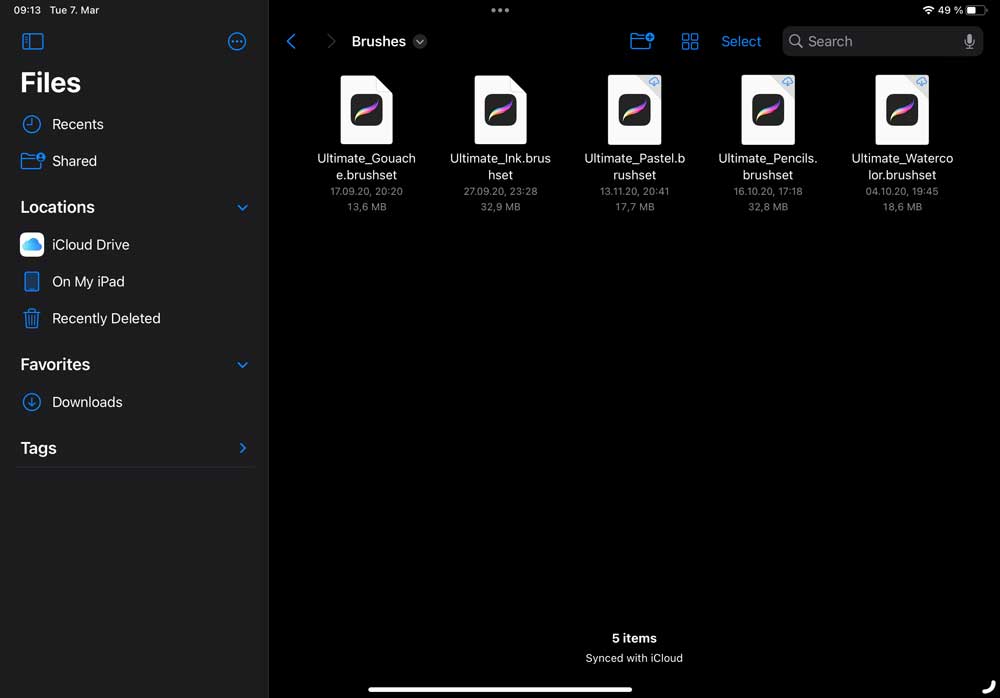
No matter if you download them on your computer or on your iPad store them in the iCloud Drive, or, if you have a Windows Computer but an iPad use Dropbox to connect your computer and iPad to exchange files. In my case I have downloaded them to my iPad and store them in the iCloud Drive.

2. Import the Brush File into Procreate
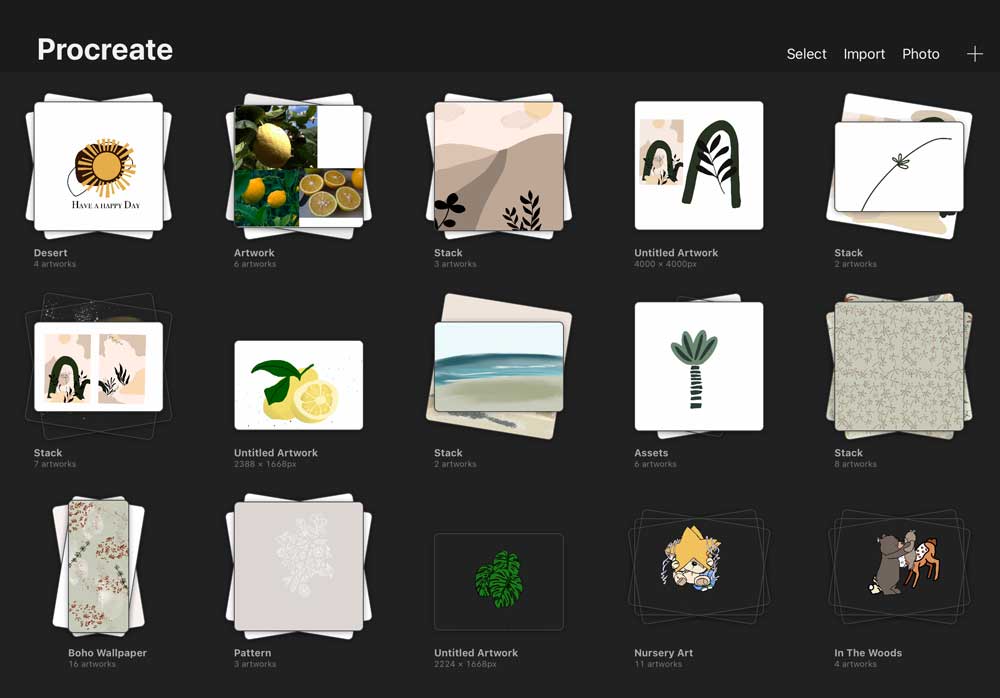
Just tap on the file and your Brush file is already installed. When you do the Procreate app opens and you see your gallery.

3. Organise your Brushes
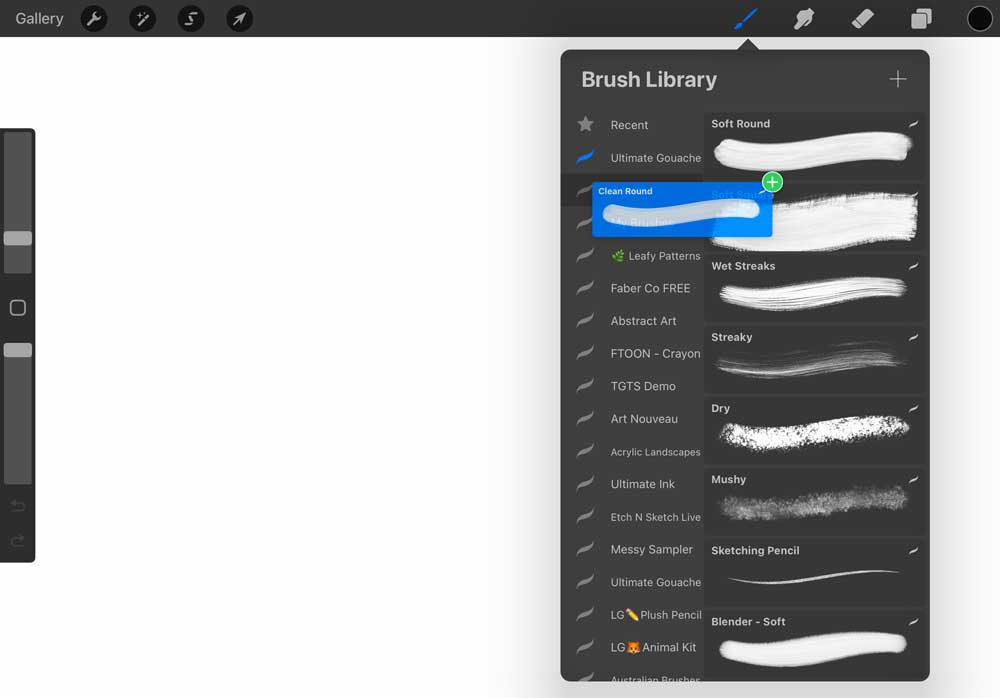
After importing the brush file, you may want to organize your brushes. To do this, tap and hold on a brush and drag it to the desired location in the brush list. You can also create folders to organize your brushes.

4. Test your new Brushes
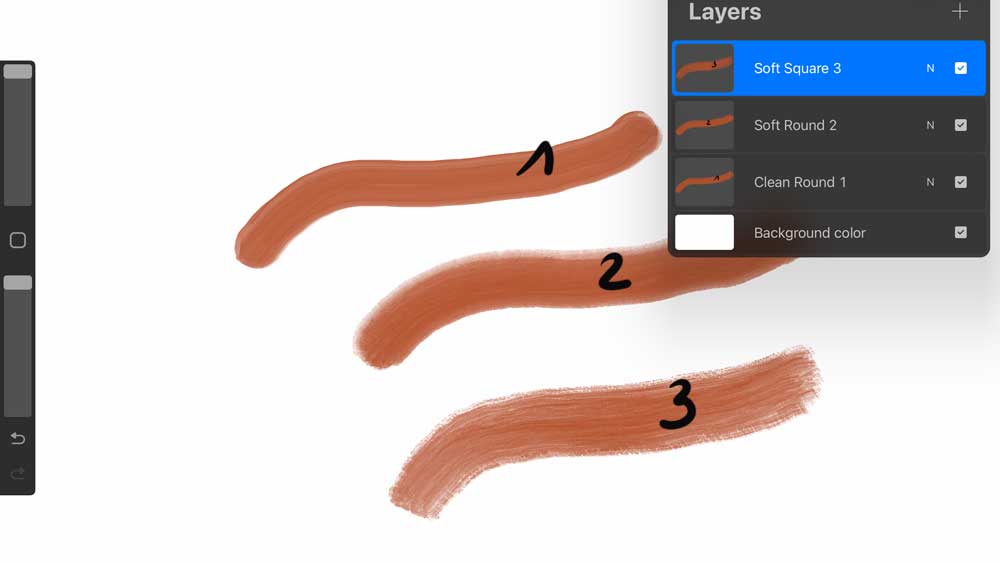
Finally, test your new brushes to make sure they work properly. You can do this by selecting the brush and using it on a new canvas or on an existing piece of artwork.
I usually draw a line on a new canvas, name the layer as the brush is named and set a number - behind the layer and on the brush stroke, see here:

Installing Procreate brushes on your iPad is a simple process that can expand your creative options and enhance your artwork. By following these steps, you can easily download, unzip, import, and organize your Procreate brushes. So, start exploring all the brushes available, it's great fun!
Wanna learn more about Procreate?
Join my free Class!
