Planning a party can be both exciting and overwhelming. One way to add a personalized touch to your celebration is by using printable decorations. Whether it's a birthday bash, baby shower, or a festive gathering, printable decorations offer endless possibilities to create a stunning party setup. In this step-by-step tutorial, I'll guide you through the process of using printable decorations to elevate your party décor, featuring banners, invitations, and cupcake toppers that will impress your guests. And we will also create a straw topper together!
Step 1: Choose Your Theme
Before diving into the world of printable decorations, decide on a theme for your party. Whether it's a whimsical garden party, a superhero extravaganza, or an elegant tea party, selecting a theme will help guide your décor choices and ensure a cohesive look.
As an example I have chosen a Caribbean theme for a summer party or a barbecue party. However, you can use the straw toppers for any party.
Step 2: Select Your Printables
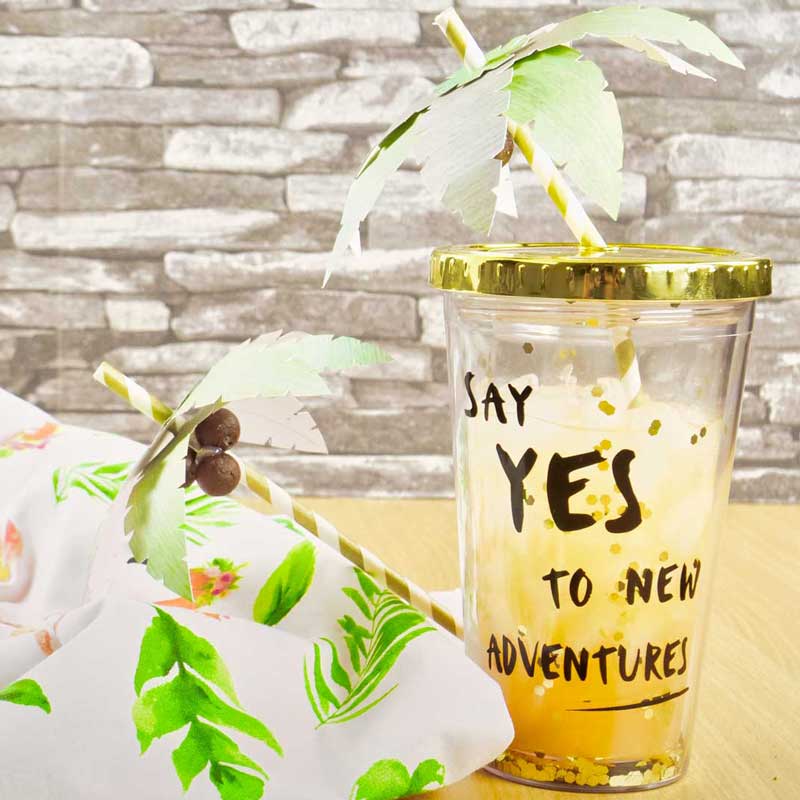
Once you've settled on a theme, browse through your collection of party-themed graphics. Look for triangles and a nice digital paper to create banners to adorn your walls, create invitations (again, from digital papers!) to set the tone for the event, and make cupcake toppers to add a charming touch to your sweet treats. Choose designs that complement your theme and reflect the vibe you want to create. You can do all that and more with a simple graphic set where all elements and papers match. For example, I have created the straw topper you see on the right as a little highlight for a summer party. For the straw topper you need no more than a paper from the Hawaiian Party Luau Graphic Set - or you get my ready-to-print version with the paper and palm tree leaves here.
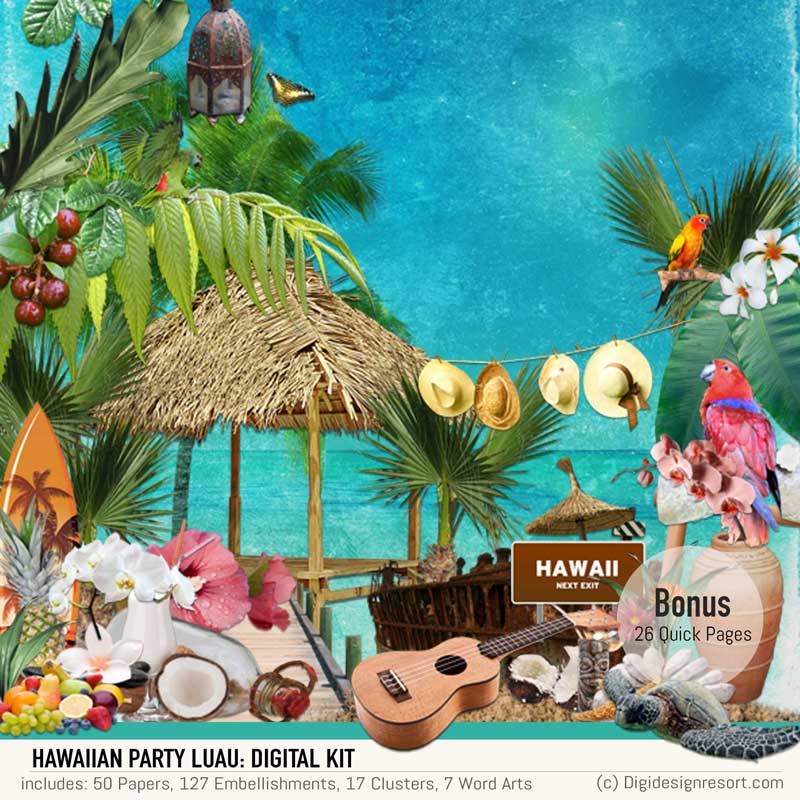
There are let alone 50 papers in the graphic set. Even if you do not use any of the elements just alone the papers are great to create your own products for your own printables.
Have a look at the graphic set in the store. You'll see all the different papers and graphics and I bet you get a lot of ideas what you can do with this set!

Safari Lounge Designer Classes
Learn everything you need to know to become a successful Artist and Designer. Let's draw and plan your business together, it's all there, personal coaching included!
Step 3: Print and Prepare
After selecting and maybe creating simple printables (scroll down for the tutorial), it's time to bring them to life. Print the designs on quality cardstock or photo paper for the best results. Use a paper trimmer or scissors to cut out each element carefully, ensuring clean edges and precise cuts. Of course you can also use your die cutting machine like a Silhouette or Cricut.
Step 4: Assemble Your Decorations
With your printables ready, it's time to assemble your decorations. Hang banners across doorways or along the party table to add visual interest. Send out invitations to your guests, setting the stage for the festivities to come. Top off your cupcakes with adorable toppers, adding an extra layer of charm to your dessert display.
Step 5: Arrange and Decorate
Once your decorations are assembled, arrange them strategically throughout your party space. Create a focal point with a festive backdrop or photo booth featuring your banners. Set up a designated area for your cupcakes, displaying them on tiered stands or decorative platters adorned with your toppers. Incorporate additional themed décor elements such as balloons, tablecloths, and centerpieces to tie everything together and, not to forget - the straw toppers!
With printable decorations, you can transform any party into a memorable and visually stunning event. From banners and invitations to cupcake toppers, these customizable elements allow you to add a personal touch to your celebrations.
Palm Tree Straw Topper
Have a look at the two pictures. I have first printed two of the papers. One side is filled with the digital paper ...

... and one with the cut lines of the palm tree leaf.

Cut them out precisely. You can do it with a scissor or with your die cutting machine. That's up to you. It's also a great activity with your kids on a Sunday afternoon.

Roll in the leaves a bit and pu them on your straw.

You don't have to but you can grab some cotton balls and color them with acrylic color. Then use a hot melt gun and glue your little cotton balls under the palm leaves.


That's how your ready-made palm tree straw topper looks - and that's how you can create other printables as well! You see, it's not a big thing. The only question you need to ask yourself is if you want to create the printables yourself or if you want to get them from the Pepper Printable Club and start crafting right away!

By following these simple steps, you can create a cohesive and charming party setup that will leave your guests impressed and delighted. Let your creativity shine as you bring your party vision to life with printable decorations! And, last but not least, you will create a memory which last a life time!

Pepper Printable Club
Join the Pepper Printable Club for the fun in life and get 100s of Printables and SVG files along with graphic sets for scrapbooking and more!
It's a lovely place to be to relax from the everyday life