Procreate is a popular digital art application that allows artists to create beautiful works of art on their iPad. If you want to learn more Procreate Tips please go here. One of the most important features of Procreate is the wide range of brushes that are available. These brushes can be used to create a variety of different effects, from realistic textures to stylized designs. In this guide, we will take a closer look at Procreate brushes and give you some tips on how to master them.
Understanding Procreate Brushes
Before you can start using Procreate brushes, it's important to understand the different types of brushes that are available. There are four main types of brushes in Procreate: painting brushes, sketching brushes, inking brushes, and special effects brushes. Each type of brush is designed to create a specific effect, so it's important to choose the right brush for the job.
Choosing the right Procreate Brush
Choosing the right brush is key to creating a successful piece of art. When selecting a brush, think about the effect you want to create. If you want to create a realistic painting, you might choose a brush that mimics the look of traditional paint. If you're creating a comic book, you might choose an inking brush that creates clean lines or one that mimics let's say Tombow markers!
Customising Brushes
One of the great things about Procreate brushes is that they can be customized to suit your needs. You can adjust the size, opacity, and shape of each brush to create a unique effect. To customize a brush, simply select the brush you want to modify and tap on it. From there, you can adjust the settings to create the effect you're looking for.

My tip here is to duplicate any brush you want to modify. This way you can always go back to the brush you had.
Creating your own Brushes
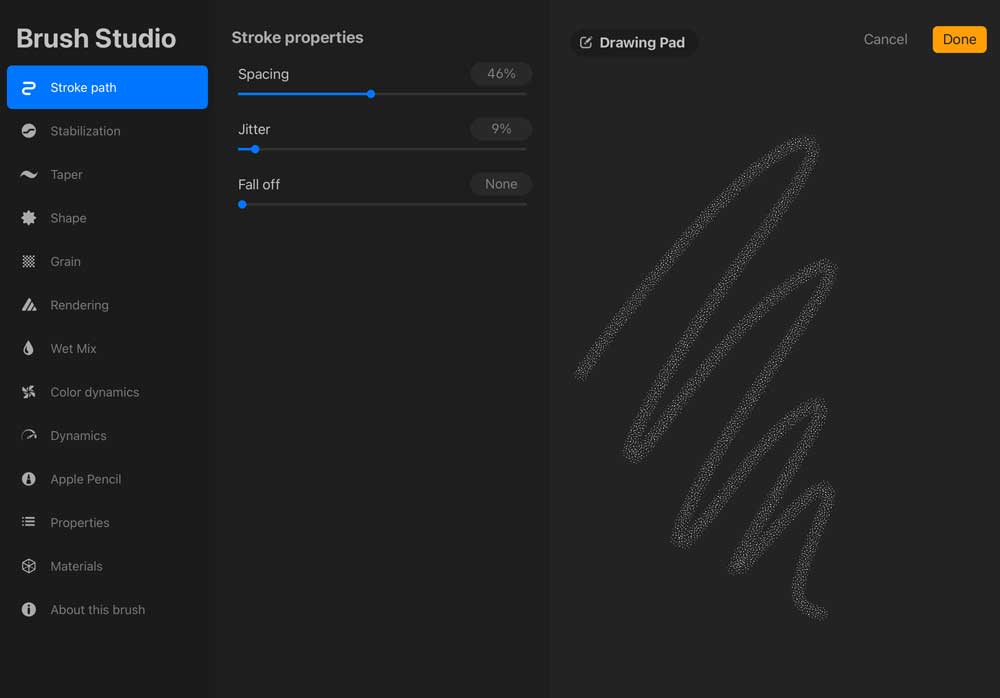
If you can't find the perfect brush for your project, you can create your own. Procreate allows you to create custom brushes using the Brush Studio feature (see the image above). This feature lets you create a brush from scratch or modify an existing brush. You can adjust settings like shape, texture, and pressure to create a brush that is perfect for your needs.
To really understand this feature it takes much more than describing it here in short. I'd highly recommend an online class here if you really want to tap into creating brushes and maybe even sell them (great digital product, btw!)
Using Layering and Blending Modes
Layering and blending modes are two powerful features in Procreate that can help you create unique effects. By layering different colors and textures, you can create depth and dimension in your artwork. Blending modes allow you to combine different layers in interesting ways, creating effects like screen printing or watercolor washes.
Practice, Practice, Practice
The key to mastering Procreate brushes is to practice. Spend time experimenting with different brushes and settings to see what works best for your style. Try creating different effects and experimenting with layering and blending modes. The more you practice, the more comfortable you will become with the application.
In conclusion, Procreate brushes are a powerful tool for creating beautiful works of art. By understanding the different types of brushes available, customizing brushes, creating your own brushes, using layering and blending modes, and practicing, you can master Procreate brushes and take your digital art to the next level. With some patience, practice, and experimentation, you'll be creating stunning artwork in no time!
